This guide will demonstrate the steps needed to setup an IMAP email account in Windows Live Mail 2012.
If you need to simply add a new account to an already setup version please go to the Top Left Menu button > Accounts > New Account
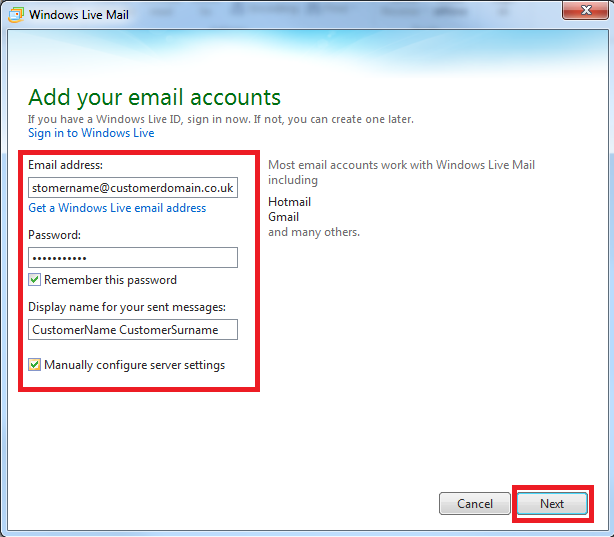
1. When you first open Windows Live Mail you will be presented with the screen below.
Please enter the following:
Email address: customername@customerdomain.co.uk
Password: Password for mailbox
Tick: Remember password
Display Name: CustomerName CustomerSurname
Tick: Manually configure server settings
NOTE: Rememeber to type in the email address needed for setup, the one displayed is for example purposes only.
The same applies to the CustomerName and CustomerSurname.
Once you have entered these press "Next".
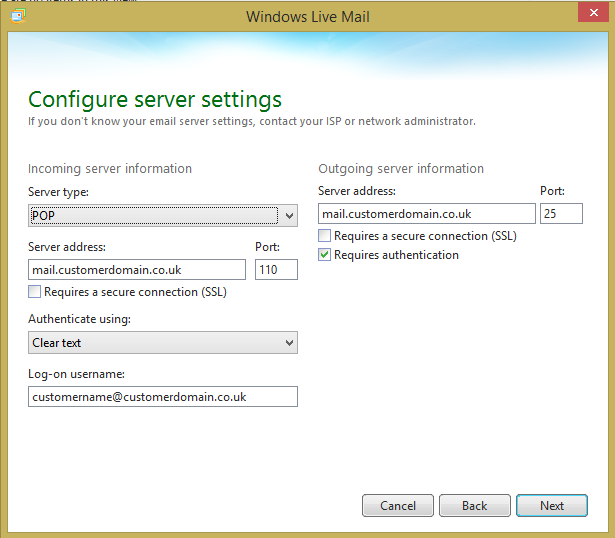
2. On this page you will have to configure the server settings for your account.
The server type is POP
Server address: mail.customerdomain.co.uk
Port: 110
UNTICK: Requires a secure connection (SSL)
Authenticate using: Clear text
Log on username: customername@customerdomain.co.uk
Outgoingserver address: mail.customerdomain.co.uk
Port: 25
UNTICK: Requires a secure connection
TICK: Requires authentication
Once you entered your information correctly click "Next"
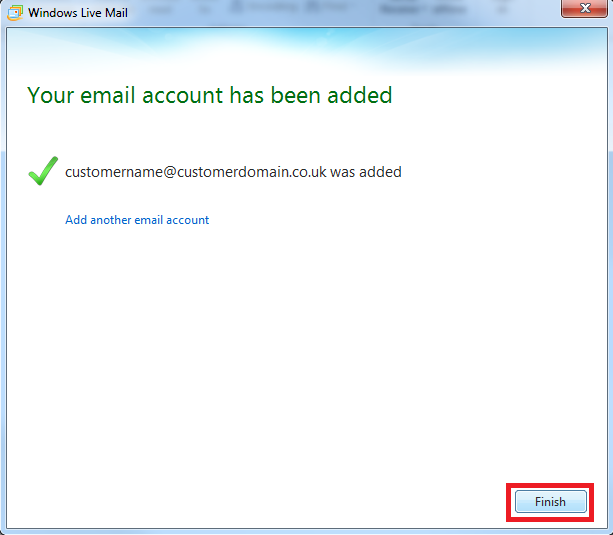
3. Your account will have no been added and displayed will be the email address of the account added.
Press "Finish"
4. Your email should begin to download from the server.
If you want to test your email account is setup correctly you can send a test message.
Click on "Email Message" in the top left corner.
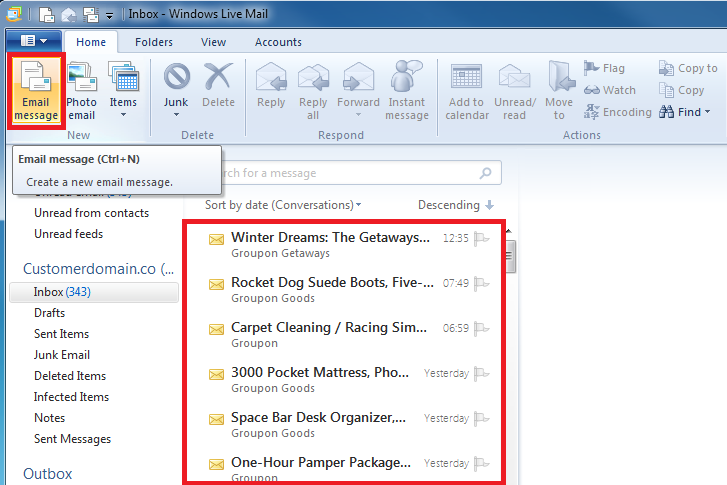
Congratulations you have now setup a POP3 account on Windows Live 2012.
