This guide will show you how to setup a new email account on Outlook 2013 to either a brand new install or an already setup version.
POP3 Account Setup in Outlook 2013
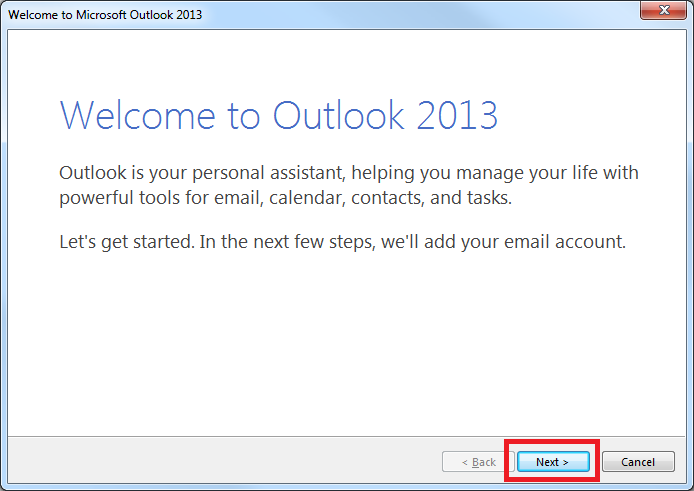
1. When you are opening Outlook for the first time it will display a welcome message, Click “Next”
If you are adding another account to an already setup Outlook 2013 then please go to File > Account settings > Account Settings > New... > Then move onto step 3.
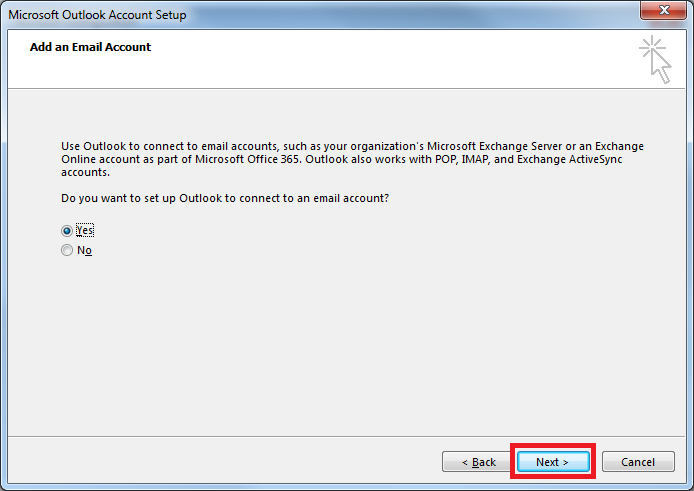
2. It will ask if you want to setup an email account, select “Yes” and click “Next”
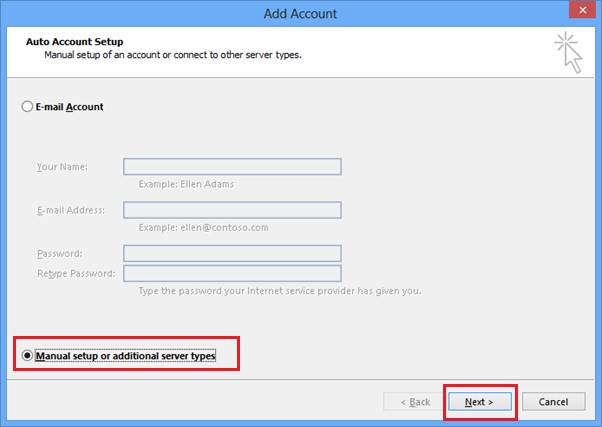
3. Select the “Manual setup or additional server types” option and click “Next”
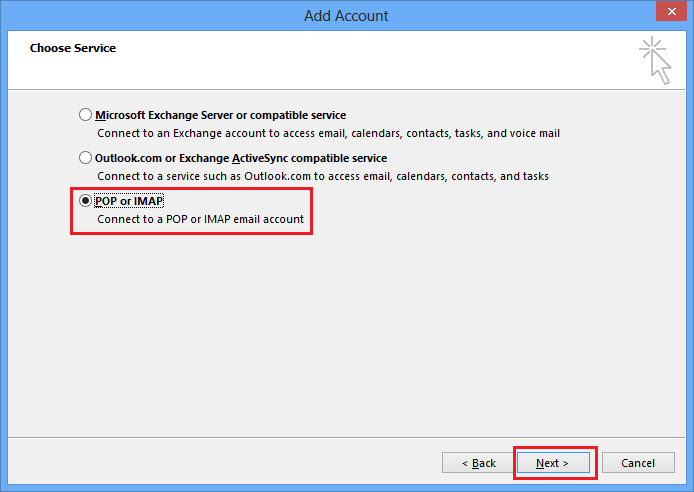
4. Choose the “POP or IMAP” option and click “Next”
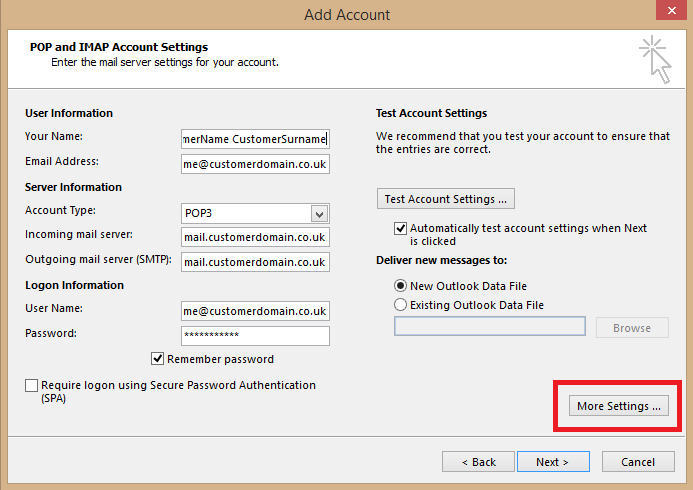
5. Fill in the required information:
Your Name: CustomerName CustomerSurname (Or Company name)
Email Address: customername@customerdomain.co.uk
Account Type: POP3
Incoming mail server: mail.customerdomain.co.uk
Outgoing mailserver (SMTP): mail.customerdomain.co.uk
User Name: customername@customerdomain.co.uk
Password: Mailbox password
Make sure "Automatically test account settings when Next is clicked"
Make sure "New Outlook Data File" is checked
NOTE: customername@customerdomain.co.uk - this is just an example of what should be entered in the field, replace "customername" with your email address and "customerdomain.co.uk" with your domain for that emaila ddress.
Once all information is included please click "More settings".
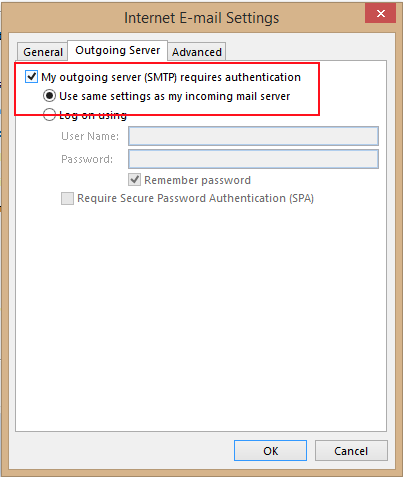
6. Here you will need to ensure that in the "Outgoing Server" tab the box is checked for "My Outgoing server (SMTP) requires authentication" and that it uses the same settings for your incoming mail server.
Now click "Ok" and then "Next".
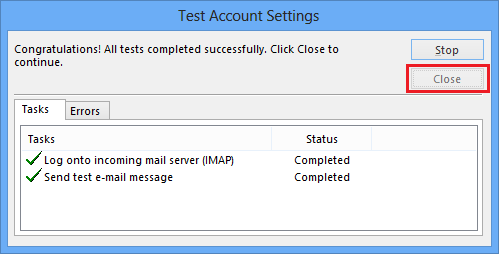
7. Outlook will send a test message to make sure the account it working correctly, once it has finished its tests, click “Close”
If the tests fail, go back and ensure you have entered all your details correctly, check the specific error message and see what could have gone wrong.
To check your credentials are correct you can log in to your webmail client. To see how to do this please see this link: (Under construction)
8. Click “Finish” to complete the setup.
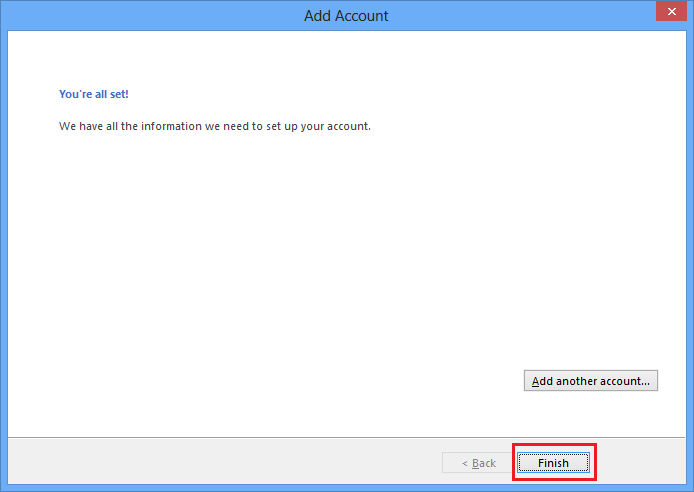
9. Outlook will now load the user account and you will see the test email that was sent while it was being set up.

Outlook 2013 should now be setup and ready to use.
