This guide will walk you through the process of configuring your Small Business Hosting emails on your iPhone or iPad. This guide has been updated to work with iOS 10.3, as such there may be small variations depending on the version of iOS your iPhone or iPad is using.
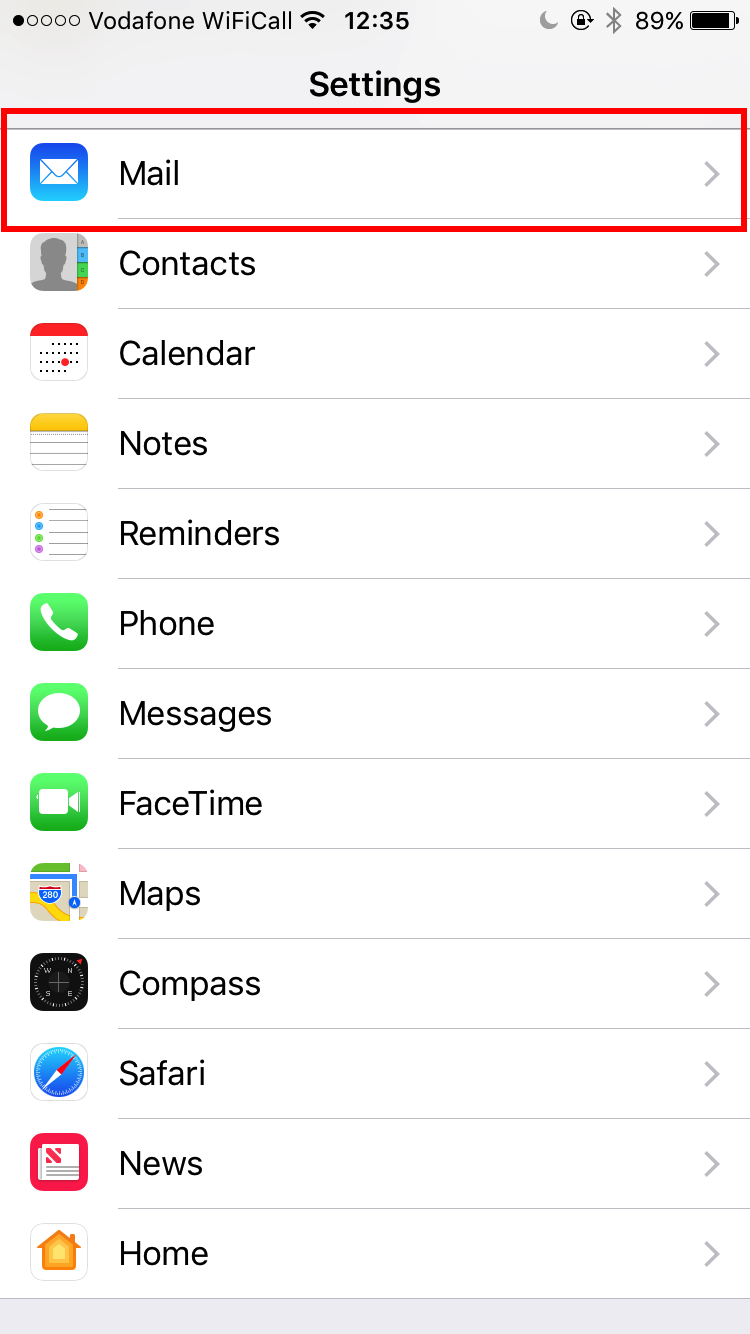
1. Firstly, you'll need to open up the Settings app. Then, you'll need to scroll down to the Mail option and tap on it:
2. Then, tap on Accounts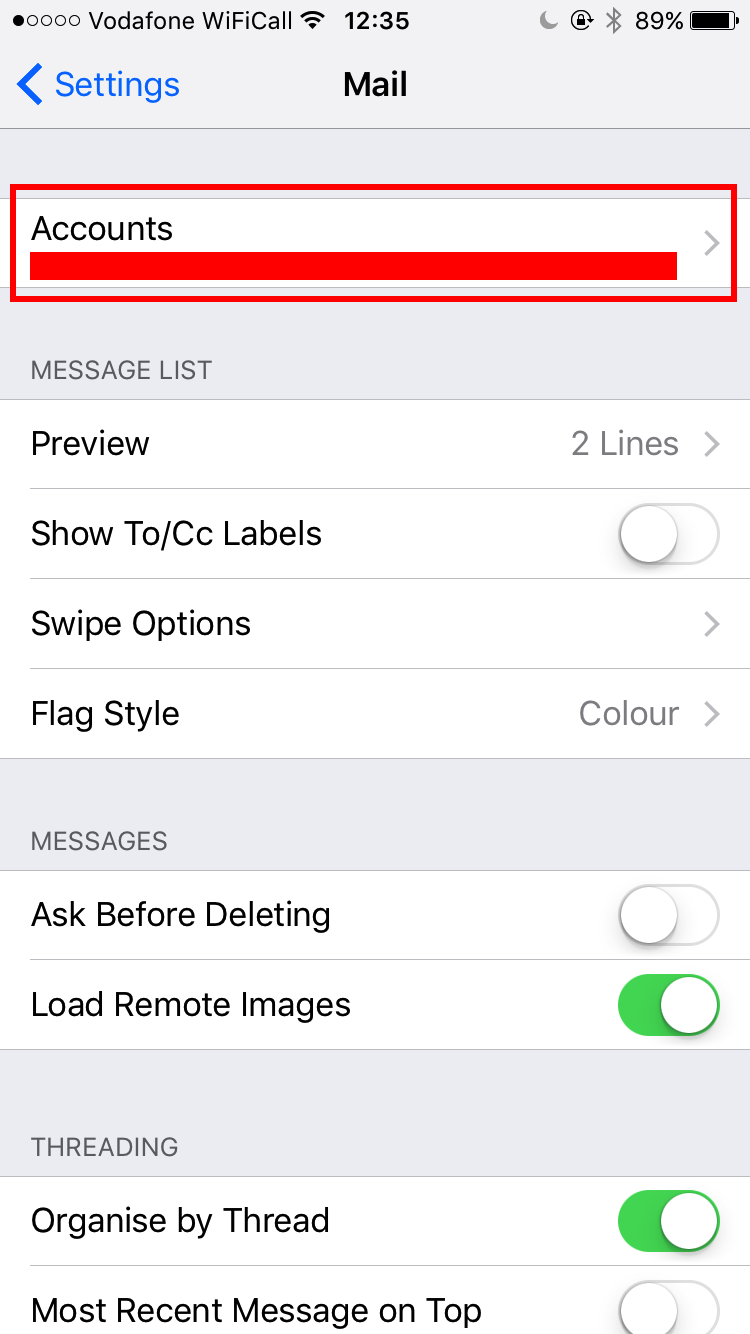
3. Now, tap Add Account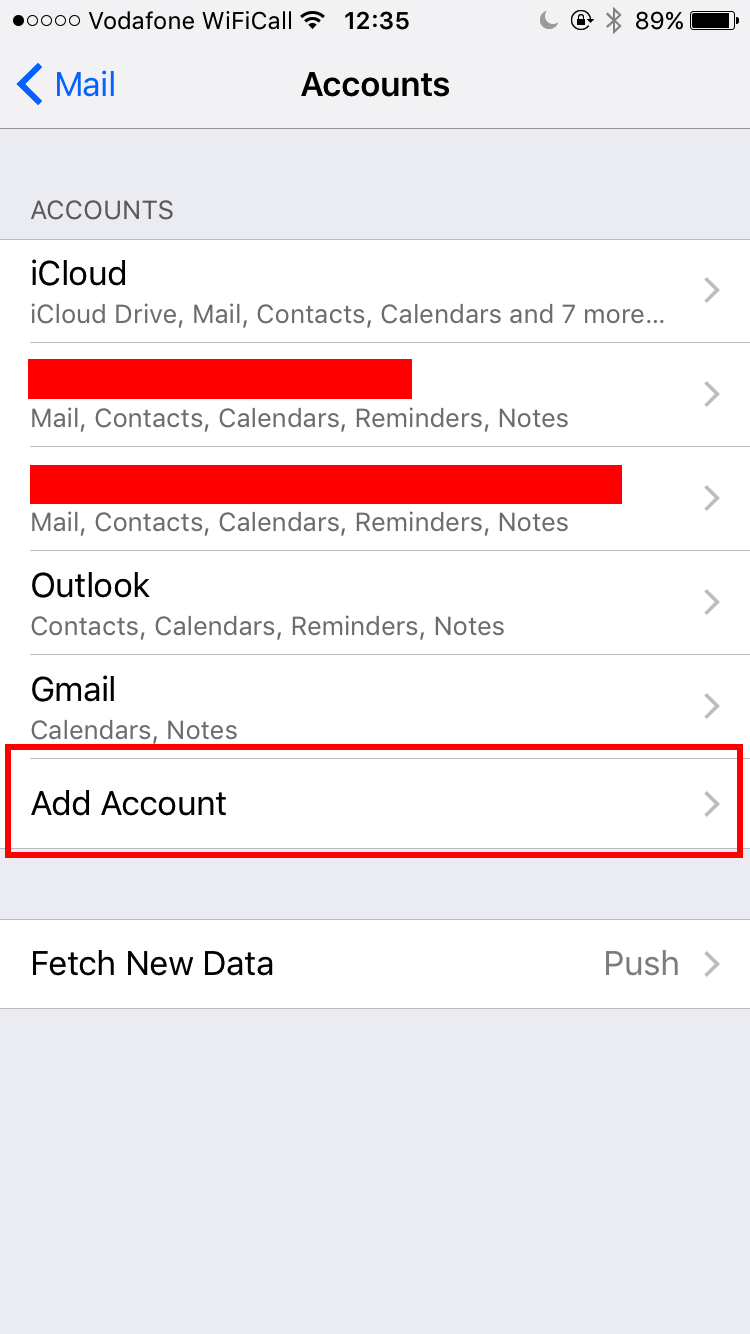
4. Tap Other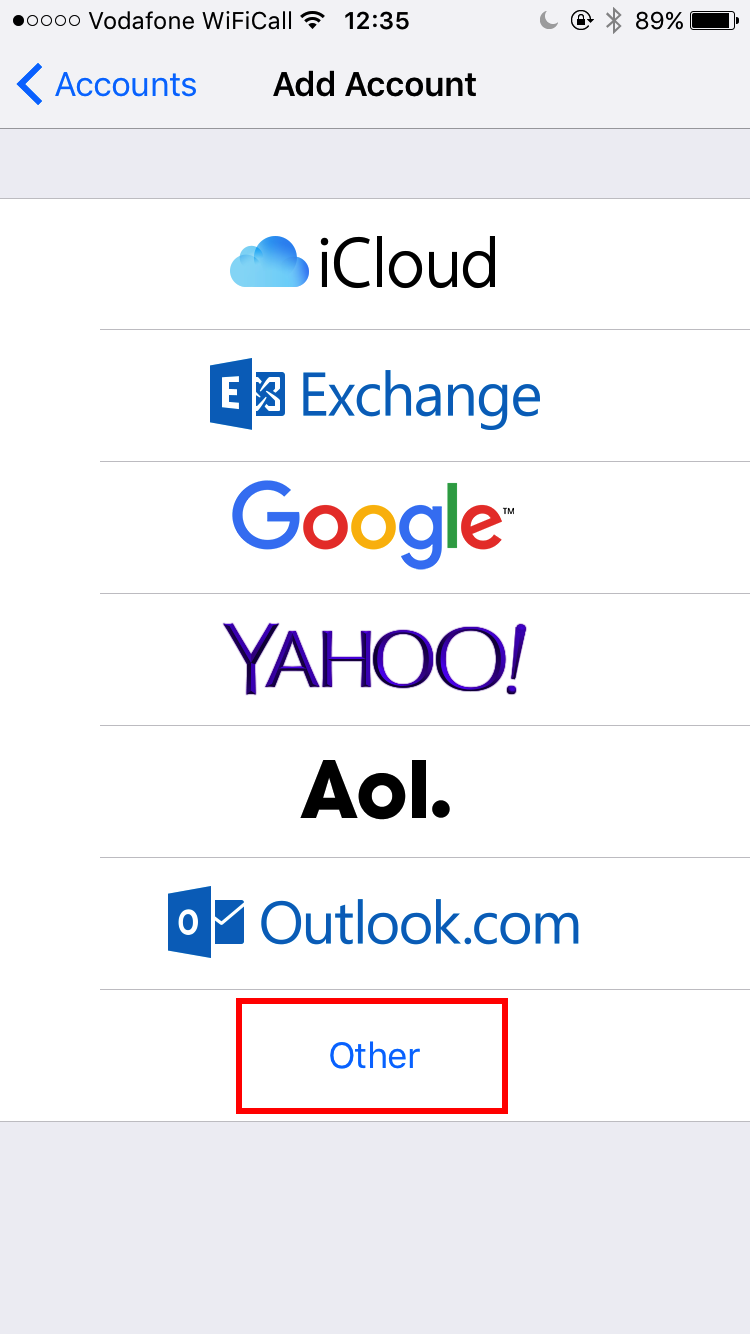
5. Tap Add Mail Account
6. Fill in your Name, email address, and password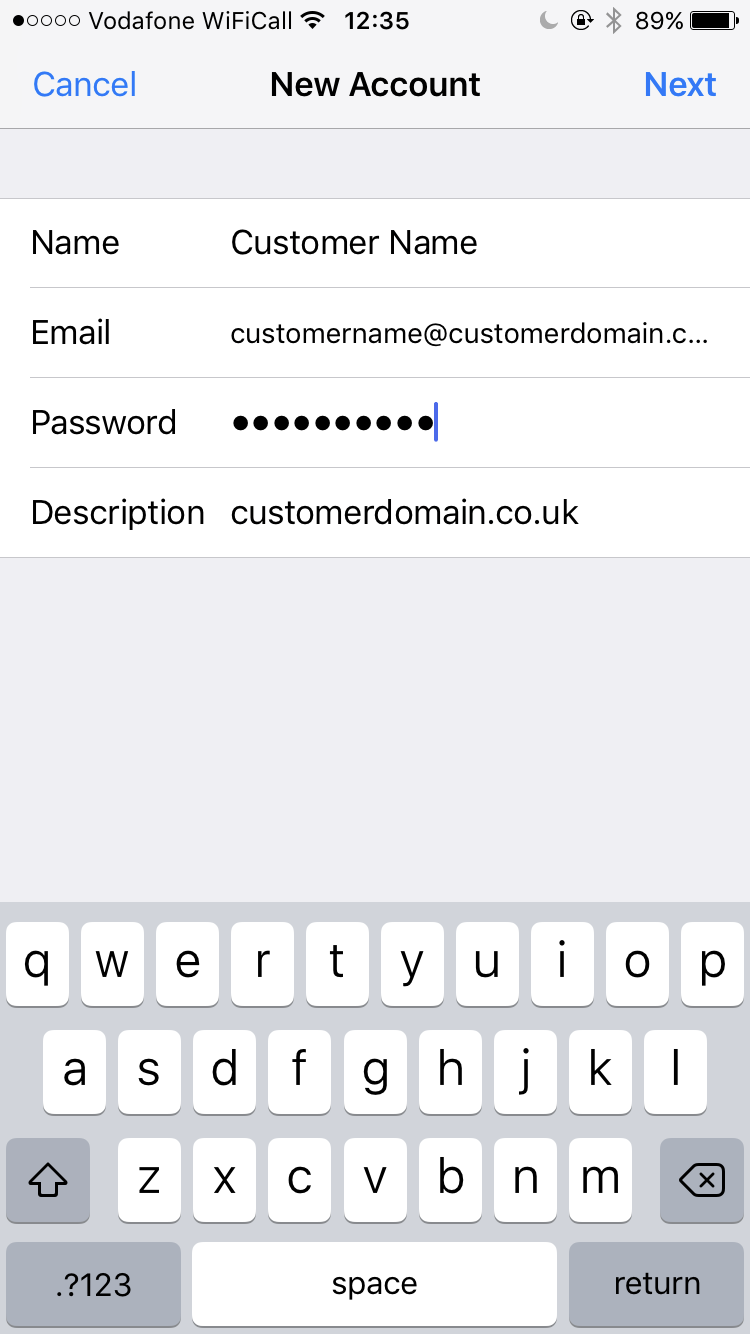
7. Enter the following details under both Incoming Mail Server and Outgoing Mail Server:
Host Name: 2019 Nov Update: If you are on Plesk use c-sbh-plesk1.sbhdns.com as the hostname, if you are on our Windows platform use c-sbh-mail1.sbhdns.com.
Username: your email address
Password: your password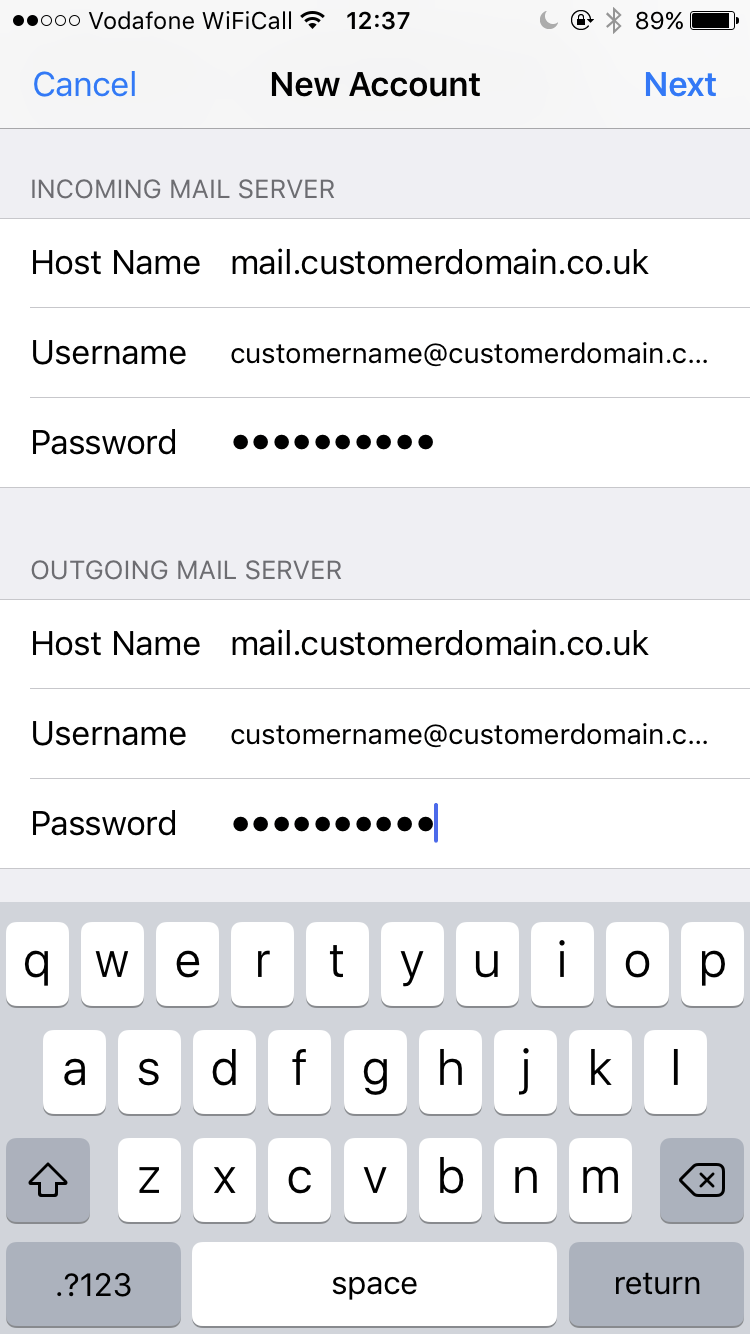
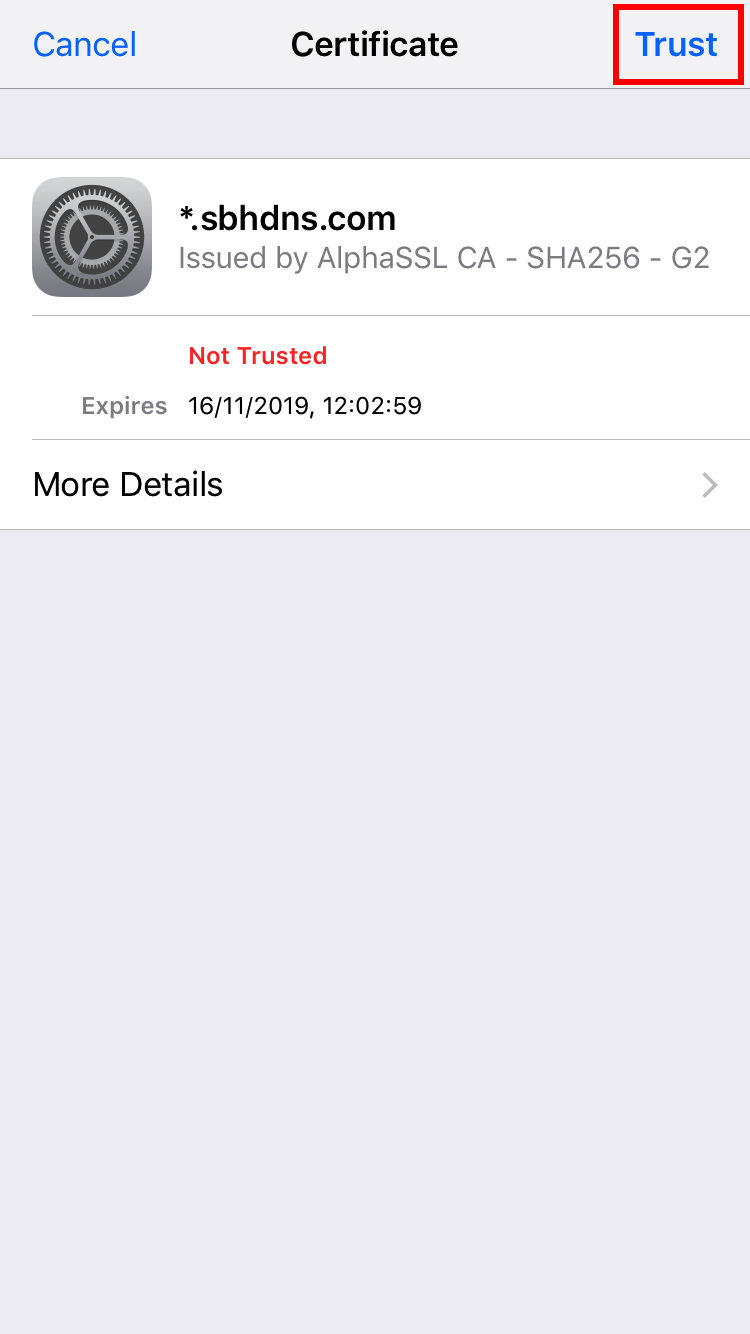
8. Tap Next, and then tap Details on the message about verifying server identity that comes up, and tap Trust.
After about 30-60 seconds, this message will come up again. Again, tap Details again and then Trust.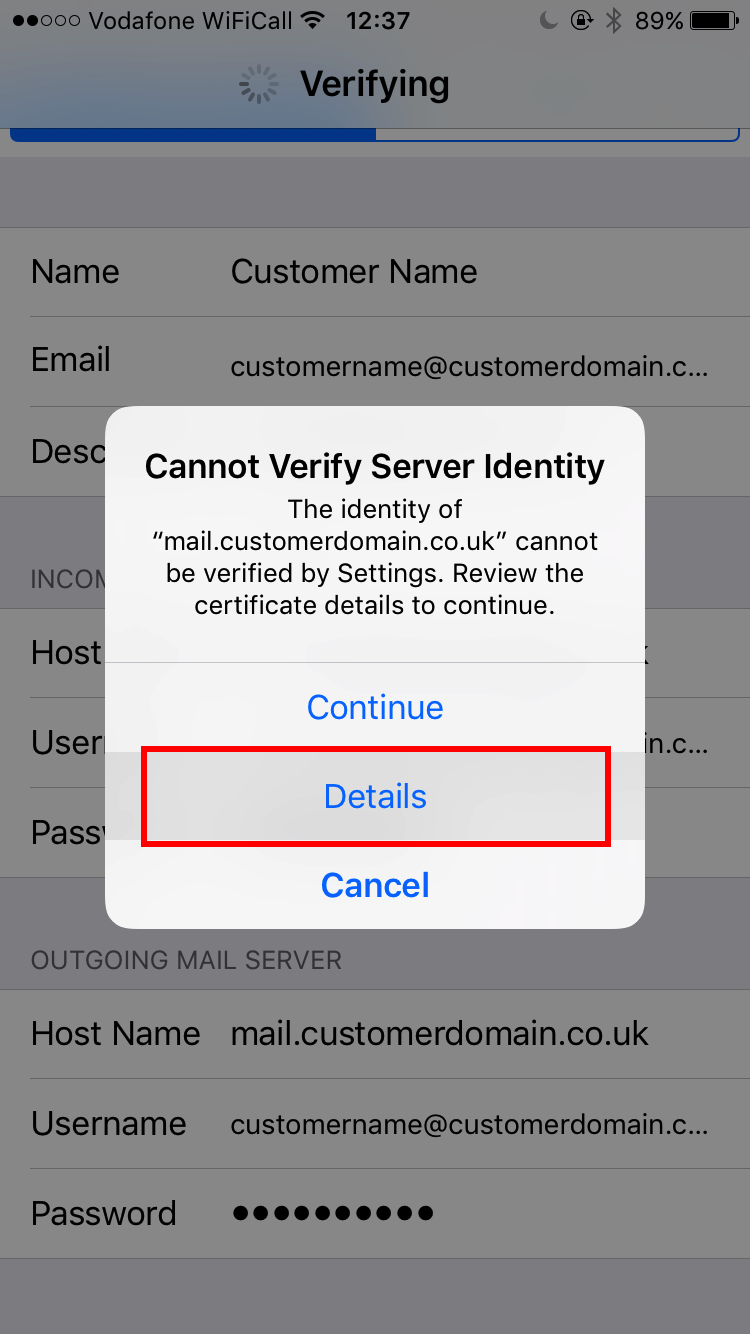
9. Lastly, tap Save.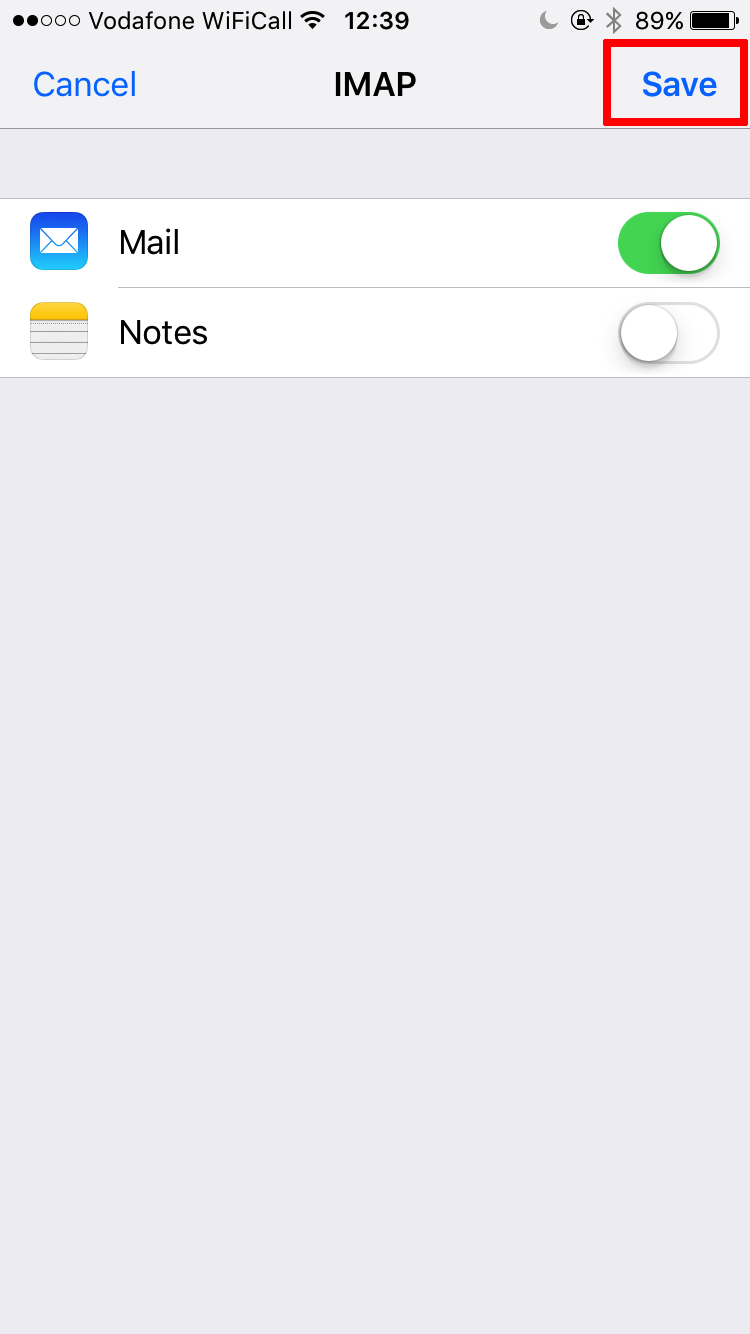
Your emails should now be configured on your iOS device and are accessable via the Mail app.
